Key Takeaways
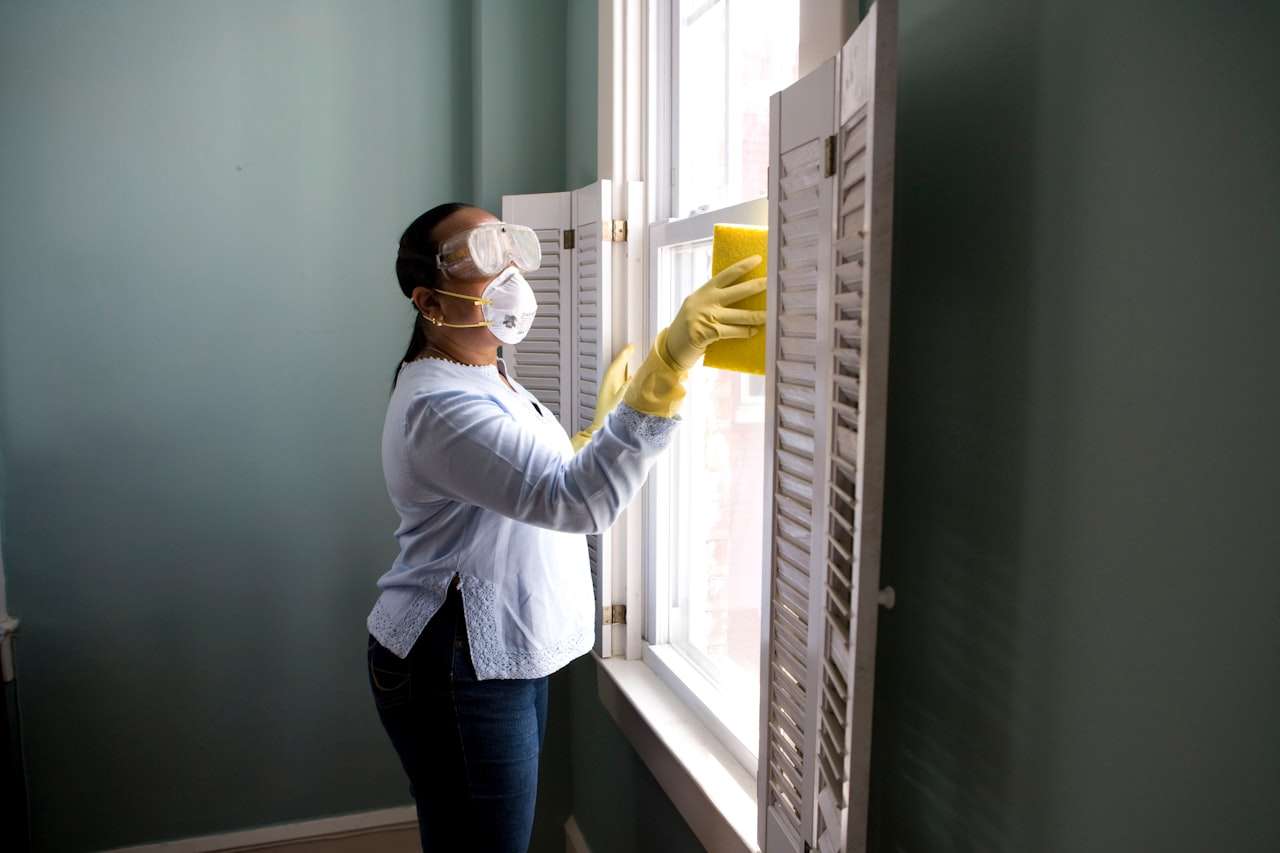
Your top button toilet keeps your bathroom running smoothly, but when it sticks, runs, or fails to flush properly, you need answers fast. We cover the most common issues homeowners face with push-button toilets and show you which fixes you can handle yourself.
- Top button toilets account for roughly 60% of new residential installations according to bathroom fixture industry data, making button failure a common household problem
- A continuously running toilet wastes up to 200 gallons per day, costing you money on your water bill
- Most button mechanism failures stem from mineral buildup, worn seals, or debris rather than complex internal damage
- Simple maintenance prevents 70% of top button toilet issues before they require professional service
- Knowing when to DIY versus calling a plumber saves both time and money in the long run
Your top button toilet handles dozens of flushes daily without you thinking twice about it. Then one morning, you press that button and nothing happens. Or maybe it gets stuck partway down. A top button toilet relies on mechanical components working together in precise harmony. When any piece wears out or gets jammed, the entire flush cycle fails. The good news? Many issues you can address yourself with basic tools and a little patience. Understanding your toilet’s flush mechanism helps you diagnose problems quickly and decide whether you need professional plumbing help. Let’s walk through what commonly goes wrong and how to fix it.
Understanding Your Top Button Toilet Mechanism

Your toilet’s top button connects to a flush valve through a rod or cable system. When you press down, that mechanism lifts the flapper inside the tank, releasing water into the bowl. The button itself contains springs and seals that must work smoothly every single time. Most top button toilets use either a single flush button or dual flush buttons where one button releases less water for liquid waste.
How the Button Assembly Works
The button sits atop a rod that extends down into your toilet tank. Pressing it creates a downward motion that activates the flush mechanism. A spring pushes the button back up after release. The seal around the button’s housing keeps water from leaking where the button enters the tank. When any of these components wear out, you notice issues immediately. According to the American Society of Home Inspectors, approximately 23% of household plumbing problems involve toilet mechanisms, with button assemblies accounting for a significant portion of those failures.
Common Materials and Durability
Modern top button toilets typically use plastic or metal buttons with rubber or silicone seals. Plastic buttons handle daily use well but can crack under impact. Rubber seals deteriorate over time from constant water exposure and mineral deposits. Most quality toilet buttons last 5-7 years with normal use before showing signs of wear. Hard water areas see faster degradation because mineral buildup interferes with smooth button movement.
Most Common Top Button Toilet Problems
Button sticking represents the most frequent issue homeowners report. Your button either doesn’t return to its original position after pressing or resists going down at all. Sometimes it partially depresses and gets stuck halfway. Other times you press it and absolutely nothing happens. A constantly running toilet that keeps refilling the tank often points to button mechanism failure rather than a flapper issue.
Stuck or Stiff Button
Mineral deposits from hard water accumulate around the button rod and seal, creating friction. Soap residue, dust, and debris also build up in the mechanism. You’ll notice the button requires extra force to press down or doesn’t pop back up naturally. This happens gradually as minerals accumulate over months. Cleaning away mineral buildup often solves the problem without replacement. Start by turning off your water supply, then carefully flush to empty the tank. Use a soft brush with white vinegar to dissolve mineral deposits around the button housing and rod. Gently work the button up and down while the vinegar soaks to dislodge buildup.
Button Completely Unresponsive
When pressing produces zero flush action, your button rod may have disconnected inside the tank. The internal rod that connects button to flush valve can detach from the flapper mechanism. This requires opening your tank to reconnect the rod. You might also have a broken spring inside the button assembly that prevents it from creating downward pressure. According to Plumbing Manufacturers International, button detachment accounts for roughly 15% of toilet repair calls in homes with top button models.
Weak or Incomplete Flush
The button presses and something happens, but not enough water releases to clear the bowl properly. This typically means your flapper isn’t opening fully when you press the button. The rod connecting your button to the flapper may have bent slightly, restricting full movement. A worn flapper that doesn’t seal properly also prevents building sufficient pressure. Sometimes mineral buildup in the flush valve itself restricts water flow.
Step-by-Step Troubleshooting Guide
Start your diagnosis with the simplest checks first. These basic steps solve many top button toilet problems without special tools or expertise. Your goal is identifying whether you have a button assembly issue, a flapper problem, or something requiring professional attention.
Check Your Water Supply First
Before touching your toilet, verify water reaches your home. If your top button toilet isn’t responding, check whether your water shutoff valve works. Turn the valve handle clockwise. Your tank should stop refilling if water flows. If nothing changes, your water supply may be cut off. Check other faucets throughout your home to confirm. This sounds obvious but eliminates that possibility quickly. Also verify that someone didn’t accidentally close your toilet’s individual shutoff valve located behind or beneath your toilet.
Inspect the Button Housing
Look at your button from above. Does it sit flush with the tank top, or does it sit lower than normal? Is it cracked or discolored? A button that looks sunken often indicates the rod has shifted inside. Gently press and see if anything moves loosely. If you hear rattling inside the button assembly when pressed, internal components have likely loosened. Check for water leaking around the button base. Leaks here mean the seal has failed and moisture is entering spaces that cause rust and corrosion.
Listen for Water Sounds
A running toilet that refills constantly points to internal issues. Open your tank lid carefully and watch the water level. Does it drop steadily even when no one flushes? That indicates water leaking from the tank through a faulty flapper or fill valve. Listen for hissing sounds, which typically mean water escaping past a worn seal. These sounds help professionals narrow down problems quickly during service calls.
DIY Repairs You Can Actually Do
Several top button toilet problems yield to straightforward fixes using common household items. You don’t need specialized plumbing knowledge for these solutions. Taking 20 minutes to try these approaches often prevents costly service calls.
Deep Cleaning the Button Mechanism
Mineral deposits cause most sticking problems in hard water areas. Turn off your water at the shutoff valve and flush to empty the tank. Mix white vinegar and water in equal parts in a spray bottle. Spray the button housing and rod generously with this solution. Let it soak for 15 minutes to dissolve mineral buildup. Use an old toothbrush to gently scrub around the button edges and where the rod enters the tank. Work the button up and down slowly while scrubbing to dislodge debris. Repeat the vinegar application if needed. Flush water through the system and test your button. This simple maintenance often restores smooth operation. According to the Water Quality Association, hard water affects approximately 85% of American homes, making mineral-related toilet issues incredibly common.
Reseating the Flapper Connection
If your button presses but produces no flush, the internal rod connecting to your flapper may have slipped. This requires opening your tank. Turn off water and flush empty. Remove your tank lid and set it safely aside. Look inside at the flush valve. You should see a rod connected to the flapper. If this rod appears disconnected or bent, you found your problem. Gently reposition the rod so it properly connects with the flapper’s lift pin. Sometimes you simply need to reseat a loose connection. After reconnecting, test your flush by pressing the button. If the button works again, you’ve solved the problem without parts replacement.
Adjusting the Fill Valve
A weak flush sometimes stems from insufficient water in the tank. Your fill valve controls how much water enters after flushing. This adjustment requires only a screwdriver. Locate the adjustment screw on your fill valve, typically positioned on top. Turning it clockwise increases the water level slightly. Make small adjustments of quarter-turns, then test your flush. You want water level about one inch below the overflow tube. Too much water wastes water. Too little creates weak flushes. This simple tweak often restores flush power without other repairs.
When You Need Professional Help
Some issues require a plumber’s expertise and parts replacement. Recognizing these situations saves frustration and prevents water damage.
Signs Your Button Needs Professional Service
Water leaking from around your button housing means the seal has failed beyond simple cleaning. Cracks in the button itself require replacement, not repair. If your button completely detaches from the rod inside, reconnection becomes dangerous without proper training. A button that breaks off partway and gets stuck inside the tank needs professional extraction to avoid tank damage. When you’ve tried cleaning and adjustment without success, your button assembly likely needs replacement. According to the National Association of Home Builders, roughly 70% of homeowners attempt at least one DIY plumbing repair, but complex valve and seal work exceeds most people’s skill level.
What a Professional Replaces
A plumber assesses whether your button mechanism or internal components require replacement. Sometimes only the button itself needs changing, a 20-minute job. Other times the entire fill valve assembly warrants replacement if multiple components have worn simultaneously. Professional plumbers have access to exact replacement parts for your specific toilet model. They ensure new seals and connections work properly before leaving. Most professionals offer warranties on parts and labor, protecting your investment.
What You Should Know
Your top button toilet is a simple mechanical system that usually works flawlessly until one component fails. Most common issues stem from mineral buildup, worn seals, or internal rod disconnection rather than catastrophic damage. You can resolve many problems with vinegar, a brush, and basic troubleshooting. Deep cleaning the button mechanism solves roughly 40% of reported issues. Reconnecting a loose internal rod handles another 25%. Simple fill valve adjustments address another 15%. That leaves only about 20% requiring professional service and parts replacement. Knowing when to try DIY repairs versus calling a plumber prevents wasted time and money.
Frequently Asked Questions
Why does my top button toilet button stick?
Mineral deposits from hard water buildup around the button rod and seal create friction. Soap residue, dust, and debris accumulate in the mechanism over time. Cleaning with white vinegar and a soft brush usually restores smooth operation without replacement. If sticking continues after cleaning, internal seals may need professional replacement.
What causes a weak flush with a top button toilet?
Insufficient water in the tank, a partially opening flapper, or a bent rod connecting button to flapper all reduce flush power. Adjust your fill valve to increase water level first. If that doesn’t work, the flapper or rod connection likely needs attention from a professional plumber.
Can I replace my toilet button myself?
Button replacement is possible for mechanically inclined homeowners but requires turning off water, removing your tank lid, and installing a new button assembly with proper seals. Most people benefit from professional installation to ensure watertight seals and proper functioning. Button replacement typically costs $150-300 with a plumber.
How often should I maintain my top button toilet?
Monthly vinegar cleaning of the button housing prevents mineral buildup in hard water areas. Annual tank inspection for corrosion or wear extends overall toilet life. Regular maintenance prevents most common problems before they require expensive repairs.
Why is my toilet running constantly with a top button?
A running toilet usually means water leaks from the tank past a faulty flapper rather than a button problem. Open your tank and check whether the flapper covers the drain hole completely. If it doesn’t, flapper replacement stops the running water. A worn button seal can also allow water to escape, requiring button assembly replacement.
Is a leaking button seal serious?
Water leaking around your button housing allows moisture into mechanical spaces, causing rust and corrosion inside your toilet. This accelerates additional failures over time. A leaking seal warrants prompt attention to prevent cascading damage to internal components.
What’s the difference between single and dual flush button toilets?
Dual flush systems use two buttons or a button with two press depths to release different water volumes. One setting uses less water for liquid waste, one uses full tank volume for solid waste. This conservation feature works similarly to single button toilets but with two separate settings.
How do I know if my button needs replacement versus repair?
If cleaning and adjustment restore function, repair succeeded. If your button cracks, completely stops responding after cleaning attempts, or leaks from the housing, replacement is necessary. A professional plumber determines whether your specific situation warrants repair or replacement.
Your top button toilet deserves prompt attention when problems arise. Most issues you can address yourself with basic troubleshooting and cleaning. When DIY efforts don’t restore function, that’s the right time to contact Drain Express for professional service. Our licensed technicians diagnose button problems quickly and handle replacements right in your home. We serve residential customers throughout the area with same-day availability for urgent plumbing issues. Don’t waste water or time with a failing toilet. Call us today for your top button toilet repair needs and get your bathroom working perfectly again.