
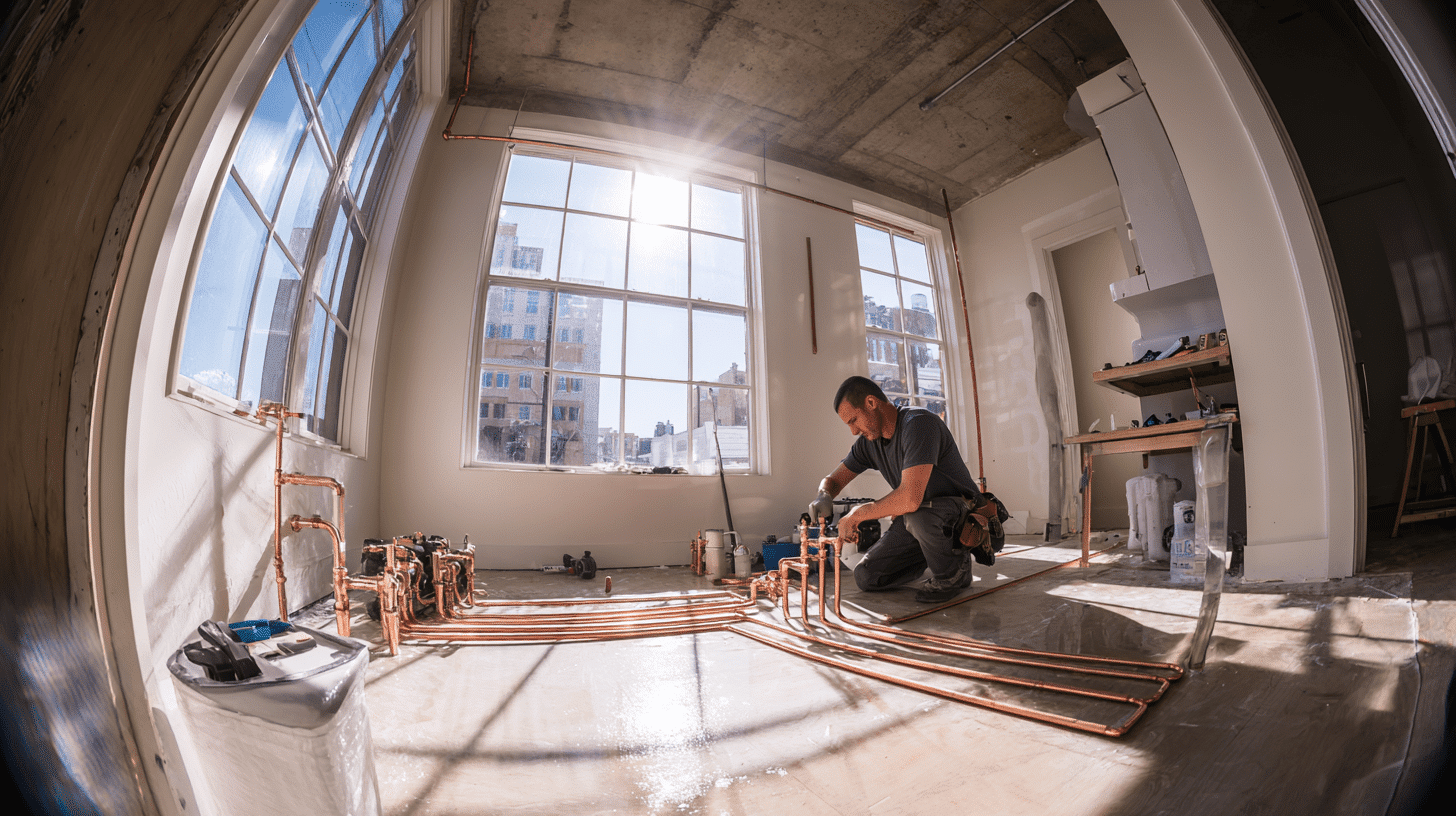
Key Takeaways
Installing a washing machine involves careful preparation of water lines, electrical connections, and drainage systems to prevent costly water damage and ensure proper operation.
- Verify water supply lines, electrical outlet, and drain connections before starting installation
- Check local building codes for specific requirements on washer hookups and drainage
- Level the machine properly to prevent excessive vibration and premature wear
- Test all connections thoroughly before first use to catch potential leaks early
- Consider professional installation for complex plumbing or electrical modifications
Essential Preparation for Washer Installation Success
Learning how to install washer units properly starts with thorough preparation and understanding your home’s existing infrastructure. With over 20 years of experience serving Durham, Raleigh, and Chapel Hill homeowners, we’ve seen countless installation mistakes that could have been prevented with proper planning. Our Durham emergency plumber guide offers additional insights for complex installations.
Your washing machine installation requires three critical connections: water supply, electrical power, and drainage. Each connection point must meet specific requirements to prevent water damage and ensure safe operation. Water supply lines need both hot and cold connections with proper shut-off valves. The electrical outlet requires a dedicated 20-amp circuit for most standard washers. Drainage connections must handle the machine’s pump capacity without backing up into your home’s drain system.
According to the International Association of Certified Home Inspectors, improper washing machine installations account for significant water damage claims in residential properties. Preparation prevents these costly mistakes by identifying potential issues before they become emergencies. Your installation area needs adequate space for ventilation, access to connections, and room for the machine to operate without restriction.
Water Line Connections and Supply Requirements
Proper water line connections form the foundation of successful washer installation. Your machine requires both hot and cold water supplies with adequate pressure and flow rates. Standard washing machines need water pressure between 20-100 psi for optimal performance.
Hot water supply should connect to your water heater system, while cold water typically connects directly to your main supply line. Both connections require individual shut-off valves for maintenance and emergency situations. These valves should be easily accessible but protected from accidental activation during normal operation.
Water supply hoses deserve special attention during installation. Replace old hoses with new, high-quality units rated for washing machine use. Standard rubber hoses work for most installations, but braided steel hoses provide extra protection against bursting. According to the EPA Water Research, burst washing machine hoses cause thousands of water damage incidents annually.
Check your existing plumbing for compatibility with washer installation requirements. Older homes may need supply line upgrades or pressure regulation modifications. Water hammer arrestors protect your plumbing system from pressure surges when the machine’s water valves close rapidly during operation cycles. If you experience unexpected issues during installation, our midnight plumber in Durham, NC team can provide expert guidance and emergency assistance.
Electrical Safety and Power Requirements
Electrical connections require careful attention to safety codes and proper grounding procedures. Most washing machines operate on standard 120-volt household current, but some larger units require 240-volt connections. Your electrical outlet should be dedicated to the washing machine, not shared with other appliances.
Ground Fault Circuit Interrupter (GFCI) protection is required for washing machine outlets in most jurisdictions. This safety device protects against electrical shock in wet environments. According to the National Electrical Code Safety Standards, laundry areas require GFCI protection for all 120-volt outlets within six feet of water sources.
Outlet placement should keep electrical connections away from potential water exposure. Install outlets at least 12 inches above floor level and away from washing machine drainage areas. Proper grounding prevents electrical hazards and protects sensitive electronic components in modern washing machines. See our guide on why you have no water for related electrical and plumbing information.
Extension cords should never be used for permanent washing machine installations. These appliances draw significant current during operation, and extension cords create fire hazards and voltage drop issues. Professional electrical modifications and emergency plumbing services may be necessary if your laundry area lacks proper outlet placement or circuit capacity. Our emergency plumber response time in Durham ensures quick resolution of any electrical or plumbing concerns.
Drainage System Setup and Requirements
Drainage connections prevent water backup and ensure proper waste removal during wash cycles. Your washing machine drain hose must connect to a standpipe or laundry sink that handles the machine’s maximum pump output. Standard washers pump approximately 15-17 gallons per minute during drain cycles.
Standpipe installation requires specific height and diameter requirements for proper operation. The pipe should extend 30-34 inches above floor level with a 2-inch minimum diameter. This height prevents siphoning while allowing proper drainage flow. The drain hose should extend 6-8 inches into the standpipe without creating an airtight seal. For additional information, review our house roof pipe guide for Durham homeowners.
Proper drainage slope prevents standing water and reduces the risk of drain backup and drainage line cleaning issues. Drainage lines should slope at least 1/4 inch per foot toward the main drain connection. Inadequate slope causes slow drainage and potential overflow during heavy wash cycles.
According to the International Plumbing Code, washing machine drainage requires proper venting to prevent sewer gas infiltration and ensure proper drainage flow. Vent connections typically tie into your home’s existing vent system through approved fittings and routing methods. Professional plumbers can evaluate your existing drainage capacity with CCTV surveys and recommend upgrades if necessary. For residents in surrounding areas, our weekend plumber in Chapel Hill provides comprehensive drainage assessments.
Installation Process and Final Connections
Begin installation by positioning your washing machine in its designated location. Level the machine using adjustable feet to prevent vibration and ensure proper operation. An unlevel machine causes excessive wear on internal components and creates noise issues during spin cycles.
Connect water supply hoses to the machine’s inlet valves, ensuring hot and cold connections match the appropriate inlets. Hand-tighten connections first, then use pliers to secure an additional quarter turn. Over-tightening damages fittings and creates leak points.
Plug in the electrical connection and test the outlet before proceeding with water connections. Turn on water supply valves slowly to check for leaks at all connection points. Run a test cycle without clothes to verify proper operation and check for drainage issues.
Final testing should include checking for proper drainage flow, adequate water pressure, and correct cycle operation. Listen for unusual noises that might indicate leveling issues or loose connections. Address any problems immediately to prevent damage during normal operation. If you need assistance during pipe burst emergencies or water emergencies at night, our team is available to help. For emergency situations, call our holiday plumber in Durham, NC for 24/7 support.
Common Installation Mistakes to Avoid
Many homeowners encounter problems during washer installation that could have been prevented with proper planning. One of the most common mistakes involves incorrect water line connections. Mixing hot and cold water inlet connections reduces washing efficiency and can damage machine components. Always verify your machine’s manual for proper connection orientation before installation begins.
Inadequate drainage is another frequent issue that leads to water backup and overflow. Homeowners sometimes install drain hoses that are too small in diameter or fail to maintain proper slope toward the drain connection. This creates standing water inside drain lines and potential backup into your home. Understanding sewer belly symptoms and drainage issues helps prevent these problems.
Electrical installation mistakes pose serious safety hazards. Using undersized circuits or sharing electrical outlets with other appliances creates fire risks and electrical failures. Always dedicate a 20-amp circuit exclusively to your washing machine installation. If your laundry area lacks proper electrical infrastructure, professional installation becomes essential for safety and compliance.
Professional Installation vs DIY Approach
While some homeowners successfully install washing machines themselves, professional installation offers significant advantages for complex plumbing situations. Experienced plumbers understand local building codes and can identify potential issues with your home’s existing water, electrical, and drainage systems. This expertise prevents costly mistakes and ensures your installation meets all safety requirements.
Professional installation becomes particularly important if your home has older plumbing systems, limited electrical capacity, or complex drainage configurations. Our team can assess your existing infrastructure and recommend necessary upgrades before beginning installation. For homes in Durham, Chapel Hill, and surrounding areas, professional installation ensures your washer operates efficiently and safely from day one.
Frequently Asked Questions
What tools do I need for washer installation?
Basic installation requires pliers, adjustable wrench, level, and screwdrivers. Additional tools may be needed for electrical or plumbing modifications.